
Apart from the generated code
I’m just going to add some more pieces to this MVC Web
Application. I will be publishing a full fledge ePhoneBook on ASP.NET MVC 4
later. This sample code will help you to get more understanding on MVC 4.
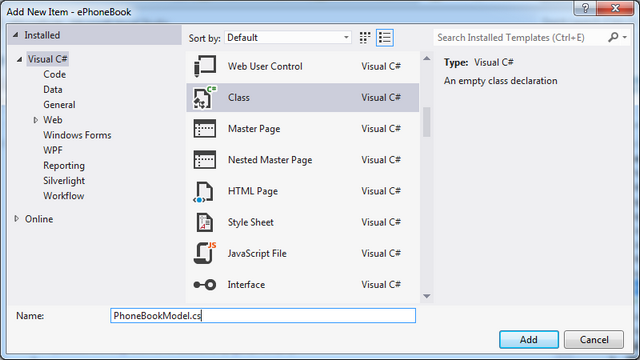
The first thing I’m going to
do is adding a PhoneBook Model class .
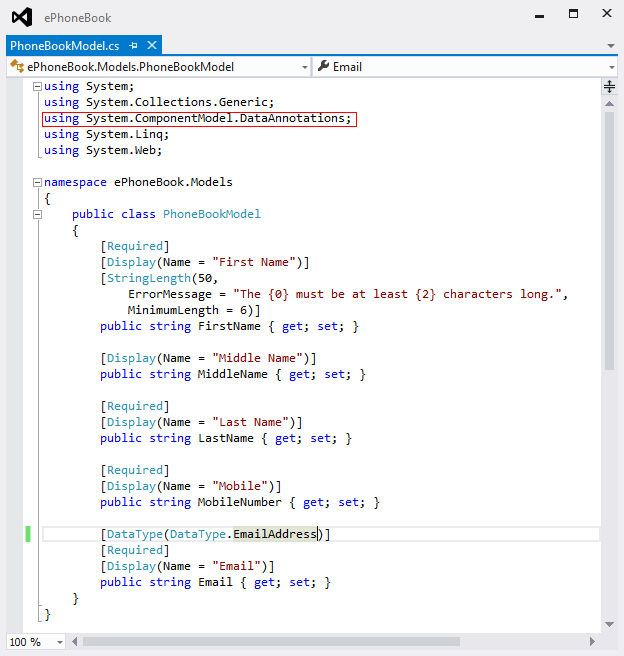
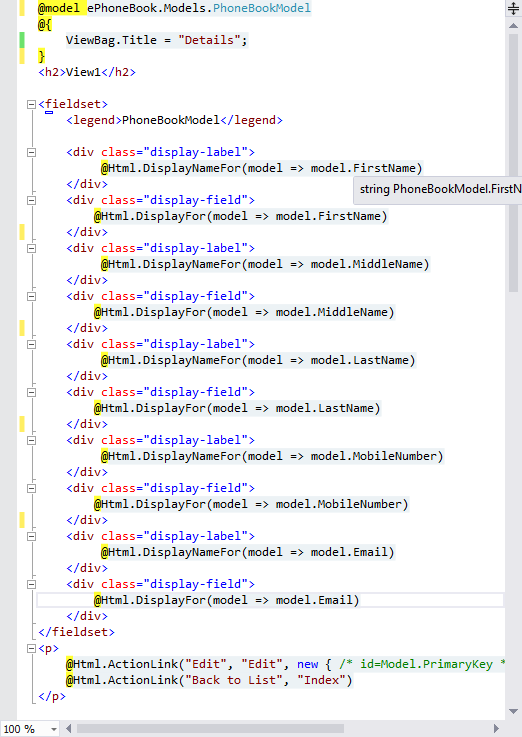
In this class I have mentioned
the validation attribute for the elements. The ValidationAttributes are comes from
System.ComponentModel.DataAnnotations. There
are multiple validation attributes available and all are
self-descriptive. 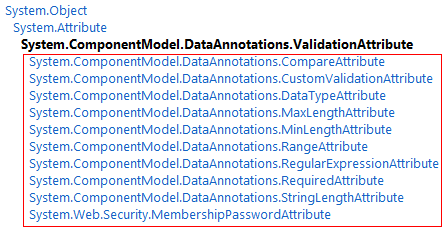
The
above image shows the available validation attributes. Read More on Validation Attribute from MSDN.
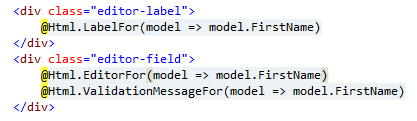
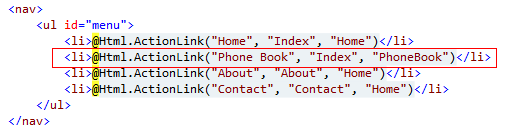
Now let’s add required views
(Create, Edit, Delete, Details, List), to add the views just right click on the
View folder and click on Add --> Views menu.
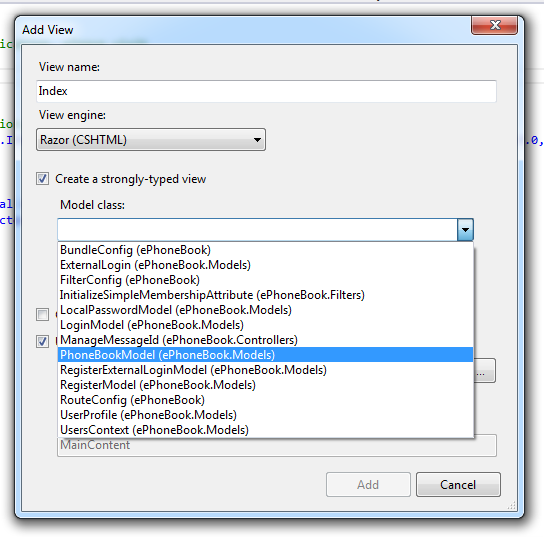
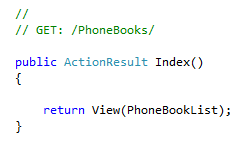
Now
I’m going to add the Listing view, I have given the View Name as “Index”
and selected the 'create a strongly typed view' Model from the Drop-down so that
the code will be generated accordingly to the Model. If the created
PhoneBookModel is not showing in the dropdown then build the application and
then check.
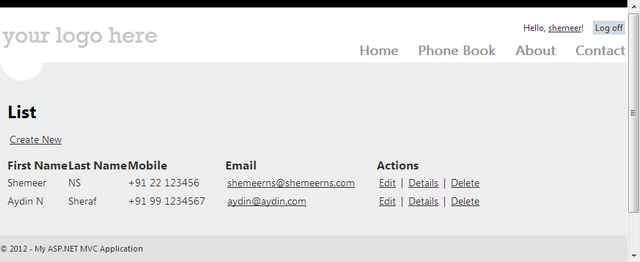
Now
we can specify which scaffolding template to use so that the code will
be generated as per the template , I have selected “List” template like
below
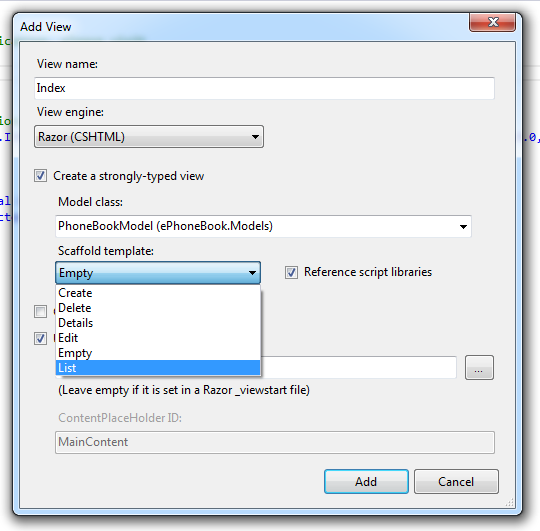
When
you click on ‘OK’ button the Index.cshtml is ready.
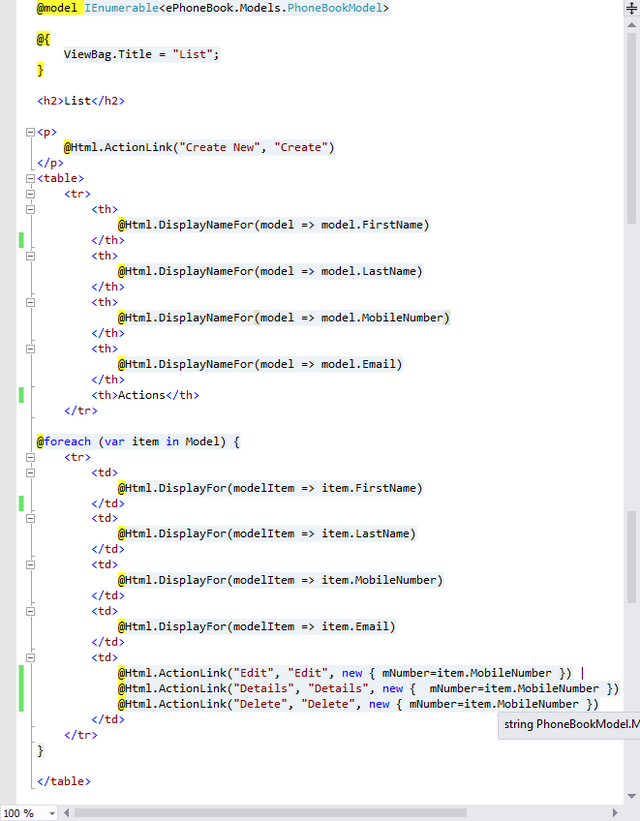
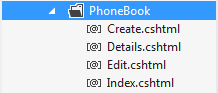
The
same way I have added all files for this sample project
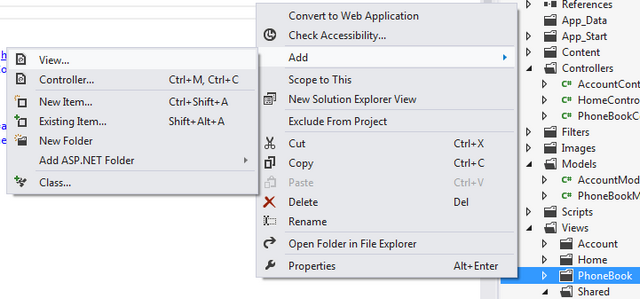
Now we need to add Controller
actions for these scaffolding items.
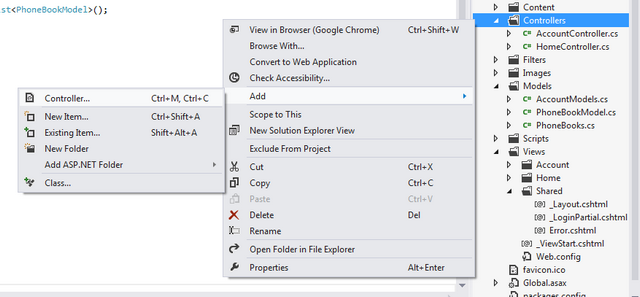
Click
on the Add --->Controller menu, once you have clicked on that menu
then a popup will be shown like below ,
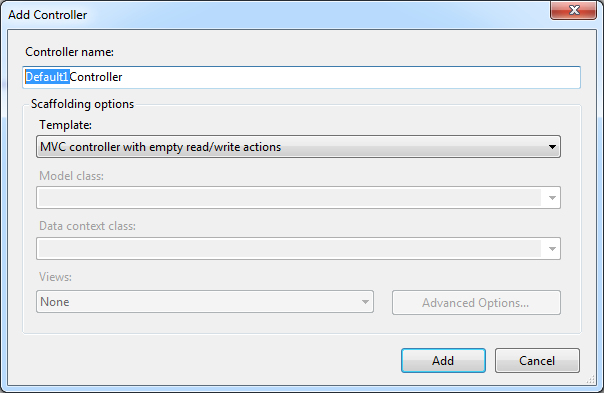
I choosed “MVC controller with empty read/write actions” controller template Now give the controller name as PhoneBookController. Note that MVC requires the name of all controllers to end with "Controller".
- Empty MVC controller
- MVC controller with read/write actions and views, using Entity Framework
- MVC controller with empty read/write actions
- Empty API controller
- API controller with read/write actions and views, using Entity Framework
- API controller with empty read/write actions

Click on “Add” button to add
the controller to our application, now the controller file is created as per our
template selection and added to our project, click here to see the
generated file
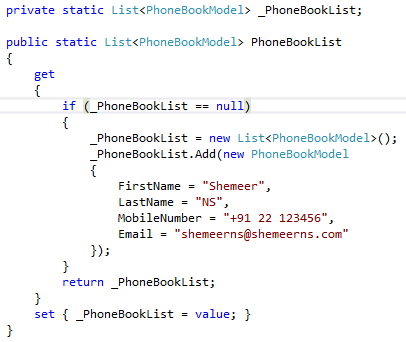
Now I’m going to modify the
newly added controller file, the first thing I have added a property that will
have a default values for the ePhoneBook
- ContentResult
- EmptyResult
- FileResult
- FileContentResult
- FilePathResult
- FileStreamResult
- HttpUnauthorizedResult
- HttpUnauthorizedResult
- HttpNotFoundResult
- JavaScriptResult
- JsonResult
- RedirectResult
- RedirectToRouteResult
- ViewResultBase
- PartialViewResult
- ViewResult
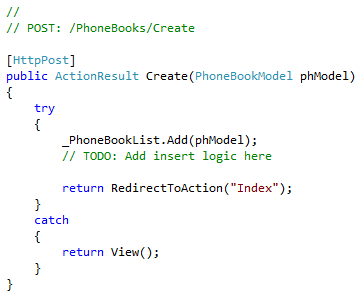
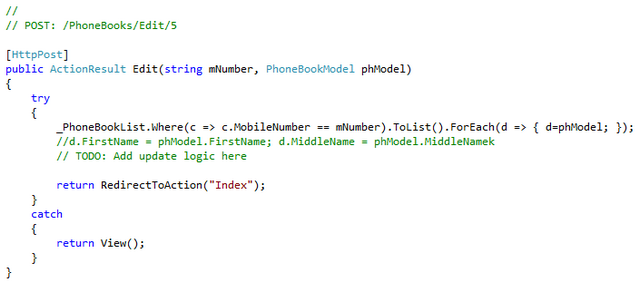
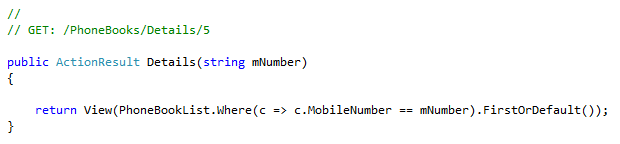
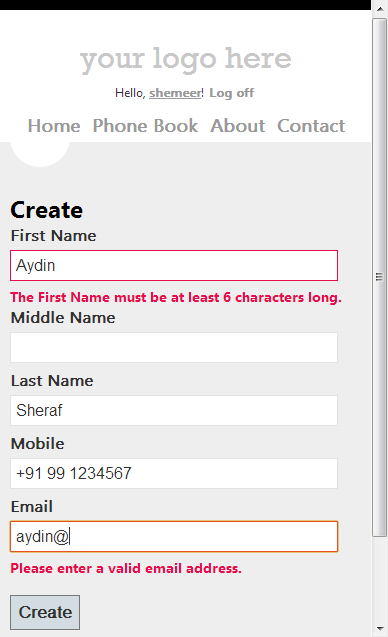
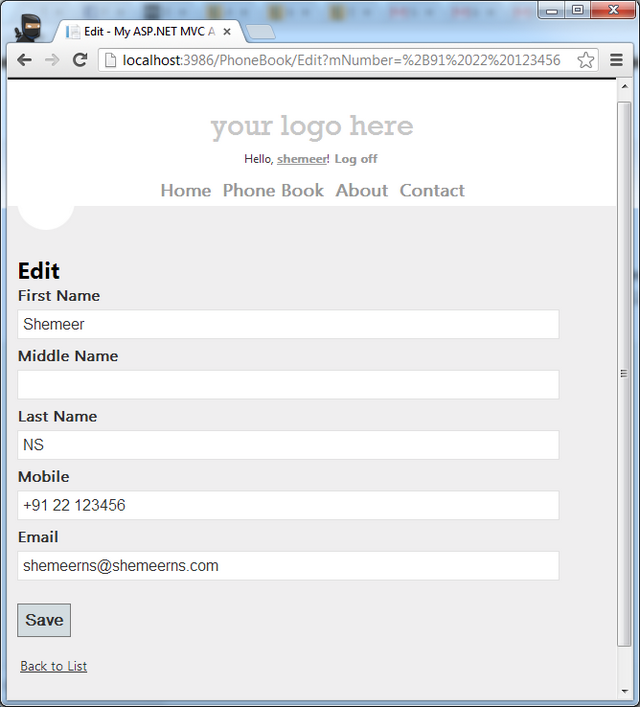
lets come back to our
application, The same way I have updated the Edit also

_Layout.cshtml. Once this all done let’s
“Run” our modified application,
No comments:
Post a Comment